The iMac G3 Monitor Conversion
- Apr 25, 2021
- 3 min read
Updated: Jan 20, 2024
So I've always wanted to do this with an old iMac G3. I think they look really cool and I always wanted one as a kid seeing them in classrooms.
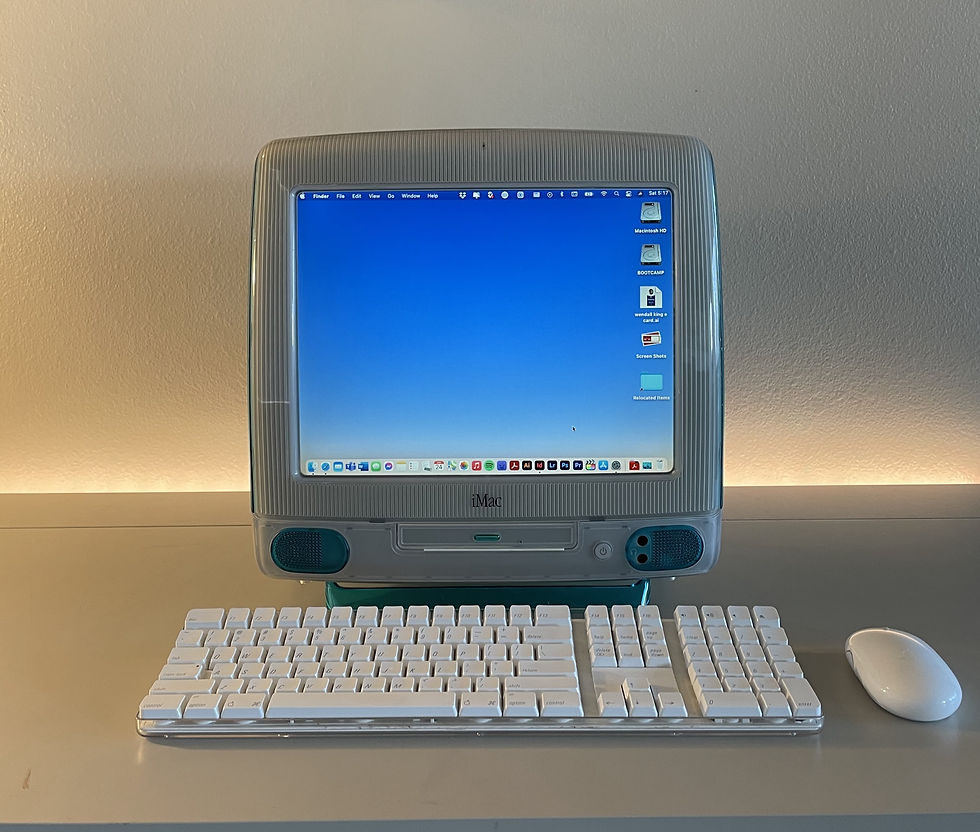
Today I found this iMac right by my house that was in perfect condition for $40. When I brought it home I plugged it in and it wasn't perfect. I needed to reload the computer if I wanted to keep it original. So I decided instead of doing that and having another computer in my house that I can't really do anything productive on, I found a monitor that was the same size and stuck it inside and hooked it up to my MacBook. Now I have the looks of the cool old vintage computer with the power of my best computer.
I even went as far as removing my nice much newer apple monitor from my desk and replaced it with this. I'm liking the smaller screen so far. It kind of forces you to only focus on one task at a time. It's also a-lot less eye straining because it's not as bright. Now I wouldn't be gaming on this screen or doing anything that requires much color accuracy but I can always switch back to the Cinema Display when I need it. This is a nice change though.
The conversion was pretty simple. I basically followed an ifixit guide to get the original computer apart, it was about 25 screws all Phillips and the same size. I used the same screwdriver to get all of them out.


Unfortunately I did break a couple of the clips that held the shell together but it still holds together fine.

Then I took apart the cheap $5 monitor which was an HP L1506 for people who are wondering. The monitor was super simple and just some screws to get it apart and its the lcd a housing, an inverter board, controller board, and two button pcbs. I glued the inverter board and controller board to the back of the lcd (with cardboard in between to shield them from the back of the screen, this is a budget build). I glued the brightness/contrast buttons behind the cd rom tray door and used some double sided foam tape to hold it in place. Since the power button pcb had a green led on it, I put that behind the original power button so it would still light up.

I also put some foam padding behind the speaker grills until I can get those functional so the don't look empty.
Unfortunately I didn't get pictures of the inside but I managed to squeeze my iPhone in through the hole on the back to get a rough view of the inside. There isn't much to it other than the lcd internals an empty shell and VGA and power cables.
Yes, I believe that is a ground wire that I left just hanging out it the open. I didnt know what else to do with it. It doesn't seem to be harming anything. Unless a bolt of lightning strikes it or something. Idk. We'll see what happens. Don't Tell me this isn't smart, I know that.


My future goals for this project are to get the actual power button working and maybe even putting a external disk drive in it. Maybe even RGB lighting. I think it could double as a cool lamp. I just don't want it to look tacky with the lighting. I'm going to try and do it in a subtle way. Who knows the possibilities are endless with it. I've seen people turn these into legit fish tanks. What's great with this mod is that its totally reversible. with the exception of the few broken clips. But I could put the original parts back it and it would work as it used to.

This could also be easily turned into an AIO computer again simply by putting a Mac mini inside as it comes straight from apple. There is plenty of room in these to just place the Mac mini inside and hook it up to the screen. A new M1 Mac mini would be cool. It would rival the newest iMacs that just came out and are the coolest looking computers that have come out since these old iMacs.

I think this will conclude my initial write up on this small project. I might follow up on what this has been like to use for some time and with real life work.

If you are interested in getting one of these yourself I could definitely help either by providing more specific instructions or by making one for you. We can figure out sourcing the materials, and all of that easily. I am located in Southern California in case you're curious about shipping.

Comments